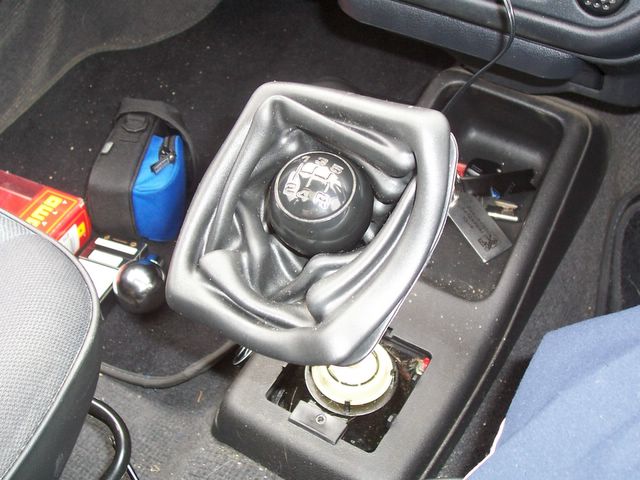
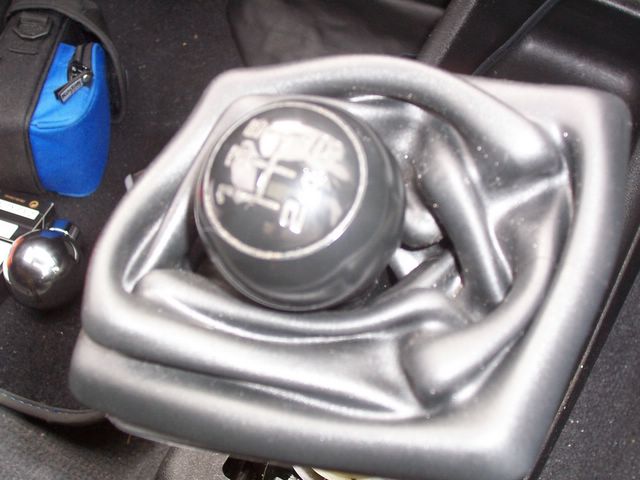
First off, it all depends on what sort of set-up you already have in your car. My car had a standard gear knob which was attached to a rubber gaiter. This looked poor and frankly, i dont know why it took me so long to replace it seeing as i had a Momo gearknob for over a year. But if you have a rubber gaiter like mine, you will need a new gaiter (leather's nice!) and a gaiter surround to affix to the centre console. This will hold your gaiter in place. These items can be bought from eBay for about £20 for the lot.
The tool's you will need are:
1 x torx screw driver (6-star head)
1 x allen key (supplied with the gear knob)
1 x philips screw driver
1 x stanley knife or other sharp implement.

Let's get started!
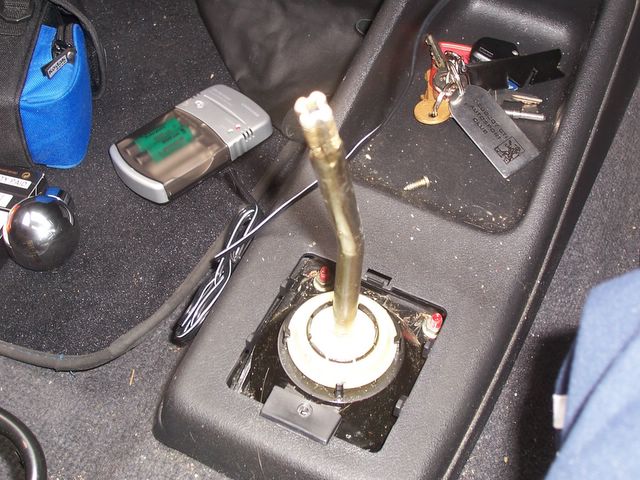
1) First thing you'll need to do is to remove the existing gear knob. Many people have trouble with this, trying to remove it using brute force, and some even resorting to cutting it off using a hacksaw.
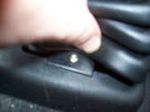
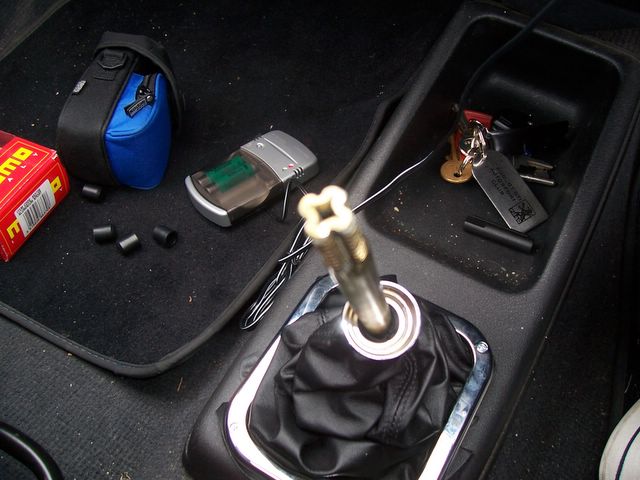
Grab your torx screwdriver (star shaped head with 6 points). Lift the rubber gaiter at the bottom closest to the handbrake. This will reveal a gold torx screw. Undoing this will release the gaiter along with the centre console.
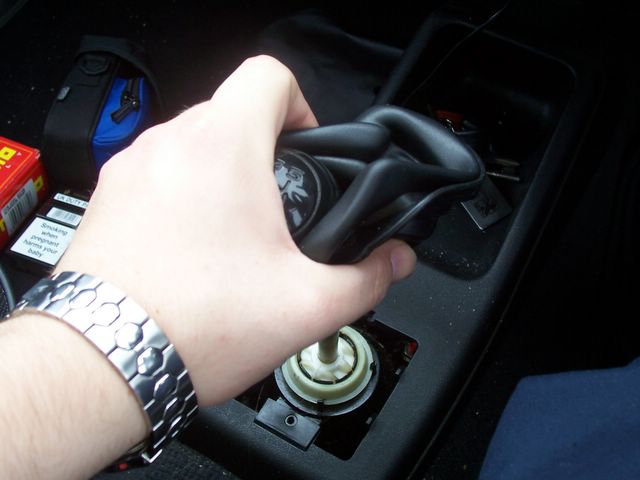
Now to remove the gear knob. Pull the gaiter up so it covers the gear knob so it covers the gear knob (this helps with grip!), and twist it anti-clockwise. This will require some force, but once it starts to move, it will move. You only need to twist is 90 degrees anti-clockwise. Once it twists 90 degrees, lift the gear knob off the shaft.
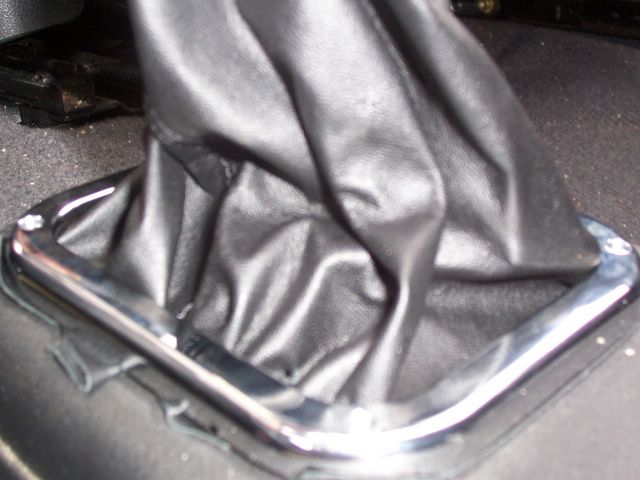
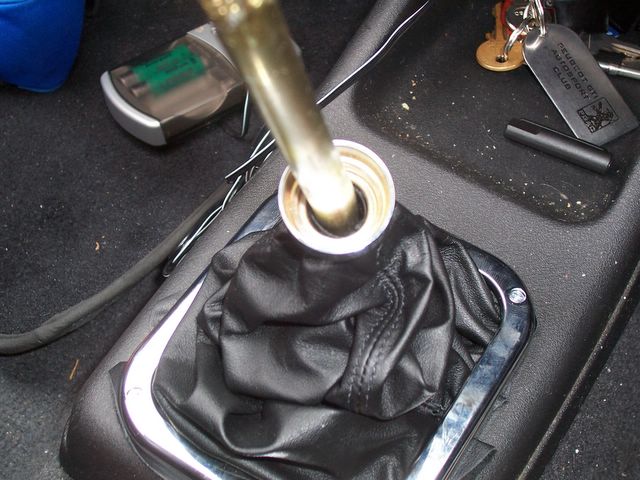
2) Next up, grab your new gaiter and place it over the gear shaft. Now once you have it in place, grab your gaiter surround. Slide that over the gaiter and line up the holes in the bottom of the gaiter with the holes in the surround. It may help to screw in the gaiter surround screws half way so you can hook the gaiter over the screws to save messing about trying to line up the screws with the holes.

3) Screw the screws down into the centre console going through the gaiter & the gear surround. Once all the screws are done you can move onto the knob.
4)Depending on what gear knob you've purchased depends on how you affix it to your gear knob. My gear knob was a chrome ball shaped momo item. The bottom screws off to reveal 3 grub screw holes. unscrew the bottom of the knob and place this over the shaft.
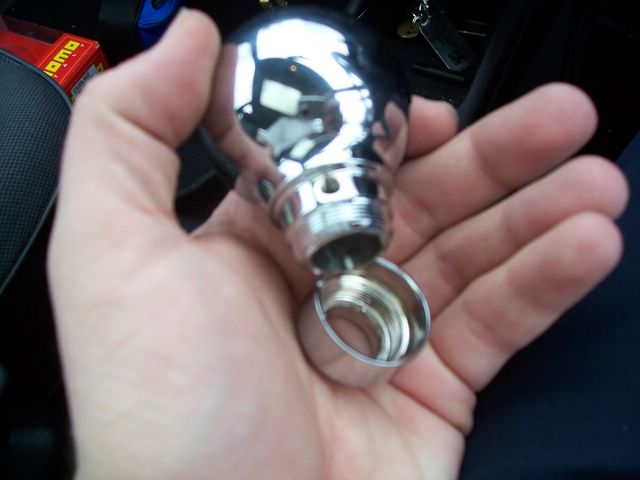
5) My Momo knob came with 5 rubber grips which slip over the top of the gear shaft. Grab the one that fits tightly.

6) Now place the gear knob over the shaft. Line it up properly (it's the little things that count!) and when it's all lined up, grab your allen key and screw in the 3 small grub screws. This will hold the gear knob in place.
7) Now grab the bottom of the gear knob, and screw it back onto the actual gear knob.

8) Lastly, just to tidy things up, due to the cheap materials, there was a small bit of left-over leather which protruded from under-neath the gear surround. Grab a sharp implement like a stanley knife and cut any excess leather. This will give a clean finish.
It should all be done now. Sit back & enjoy. Give yourself a pat on the back as the job's a good'un!

Conclusion:
Well im glad i finally done this mod, it makes the interior feel a bit better. I may purchase another gaiter at a later date, as im not entirely happy with the one i got. that's cheap eBay stuff for you. It'll also help if i had removed the centre console as it can be a bit tight for space.
But overall, an easy mod, took me about an hour to do!
Note: This is the way i carried out this mod. It may be different for you. i will not be held responsible if there is a problem or any damage caused to your vehicle if you follow this guide. You carry out anywork at your own risk!


No comments:
Post a Comment