PROLOGUE
Standard Peugeot speakers aren't that great, to be honest. I replaced my head unit 2 years ago, and replaced my front speakers 18 months ago, and that has really boosted the sound in my 106, which is great, but the back speakers have always let it down. So my girlfriend got me a set of 10CM Kenwood speakers for my birthday. Here's how to fit them. They have been fitted to a 1994 Peugeot 106 Mk1 3dr Model.
The 106 is a small car, and the space where the rear speakers go is very very TIGHT. So be careful when you purchase your speakers, as if they are too deep, they wont fit properly. My old speakers, i think, measured about 40mm, however the new ones are around 50-60mm.
Please don't take my measurements as exact though. I don't want to be held responsible for you buying speakers that won't fit. Thank you.
What you will need:
2 x 10cm Speakers
1 x torx screw driver
1 x flat headed screwdriver
1 x philips screwdriver
Step 1:
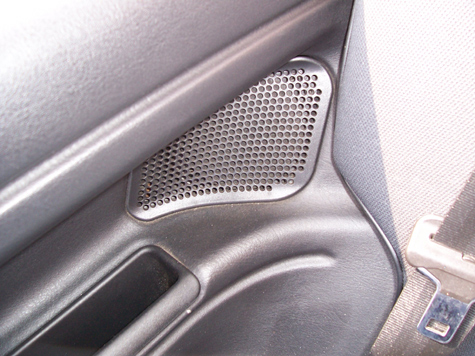
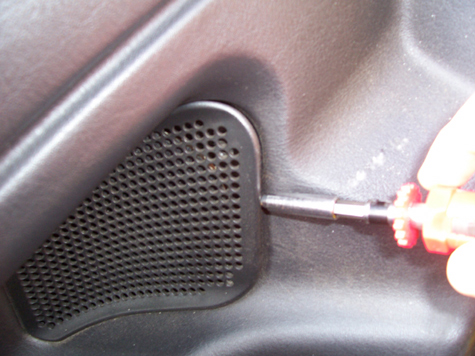
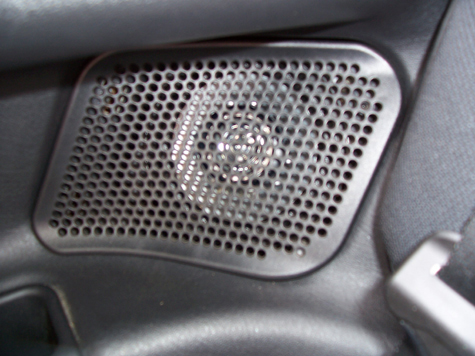
The first step is to remove the grills from the rear of the car. Grab your flat headed screwdriver and slot that in between the speaker grille and the plastic that the speaker sits in. Give it a bit of pressure, and the speaker grille should simply pop out. As I said before, it's very tight back there, so you may want to pull the back seat down so you can get easier access to the grill.
Step 2:
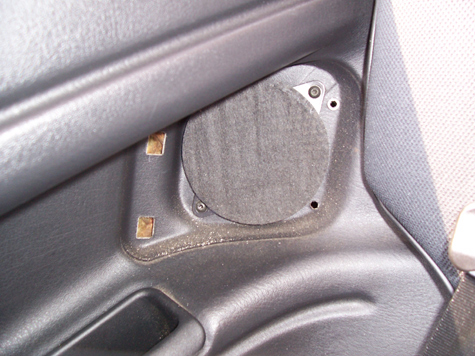
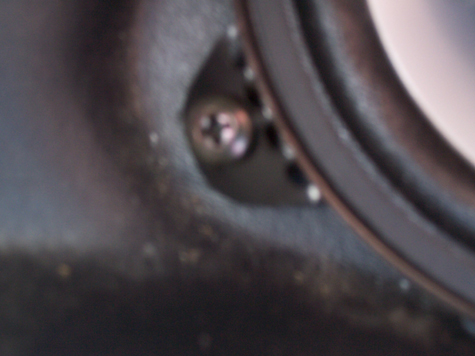
The speakers are held in with screws with a star shaped head on them, so grab the star headed screwdriver. I'm not sure what size you will need. Remove the screws, and then pull the speaker out.
Step 3:
On the back of the standard Pug speakers is a yellow block which holds the connections onto the speaker. This should simply pull apart (you may need to use a small flat headed screwdriver here). So now you should have a redundant Pug speaker and a speaker wire hanging out of the hole with a yellow connecter on the end.
Grab the yellow connecter which is connected to the speaker wire. If you look at the end of it, you can see 2 spade connectors held in the yellow block. Grab a small flat headed screwdriver and push it down the end of the connector so the spade connections pop out.
Step 4:
Now is the moment of truth. Are the speakers you bought too big?
Grab the 2 spade connectors which are on the end of the speaker wire. Plug these into the connectors on the back of your new speaker. Slot the speaker back into the speaker recess where the standard speaker sat.
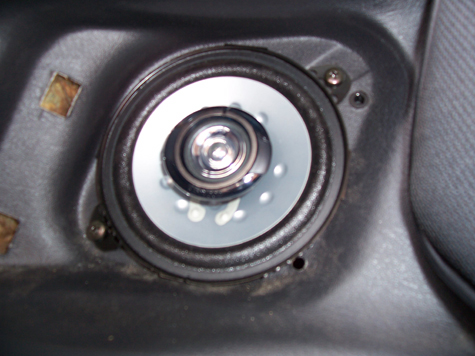
Does it fit nice & flush? If so, well done!! At this stage, my speakers where too deep, but I still fitted them anyway in the hope of constructing a "Custom pod" for the speakers at a later date.
At this point, it would be best to turn your head unit on and test the speaker. After all you don't want to fit it all in, switch it on and find out it doesn't work!!!
Step 5:
So, if the speaker fits nice & flush, grab the screws which came with the new speakers, and screw them into the holes the old speaker left. If your speakers didn't come with screws, then use the old ones that held the old speakers in.
Step 6:
Once it's all in, re-fit the speaker grill and start on the other side. It's exactly the same!
Step 7:
Once both speakers have been fitted, sit back, switch the stereo on, and enjoy the enhanced sound!
Final Thoughts:
My speakers where too deep for the existing holes, but I fitted them regardless. The magnet at the back of the speaker is currently touching on the bodywork and doesn't actually fit properly in the speaker hole. Also, only one screw would completely screw in as the speaker is too deep. Because of this, the speaker grills wont fit on either. So please be careful!
Aftermath
When i fitted these speakers, i mentioned that i had problems with the depth and the speaker magnets where actually touching the bodywork. After a couple of days, i decided i didnt want to ruin the speakers, so i had a quick word with my boss about the problem, and he came up with some plastic tubing which i butchered to create some spacers.

These 4 rings which look like polo mints went between the speaker & the panels in the back of the car. They are about 5/6mm deep and give enough clearance for the speaker to move how it should.
Note: This is the way i carried out this mod. It may be different for you. i will not be held responsible if there is a problem or any damage caused to your vehicle if you follow this guide. You carry out anywork at your own risk!


No comments:
Post a Comment